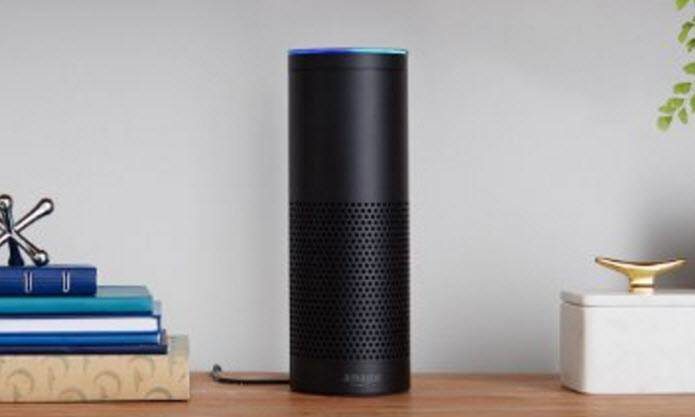
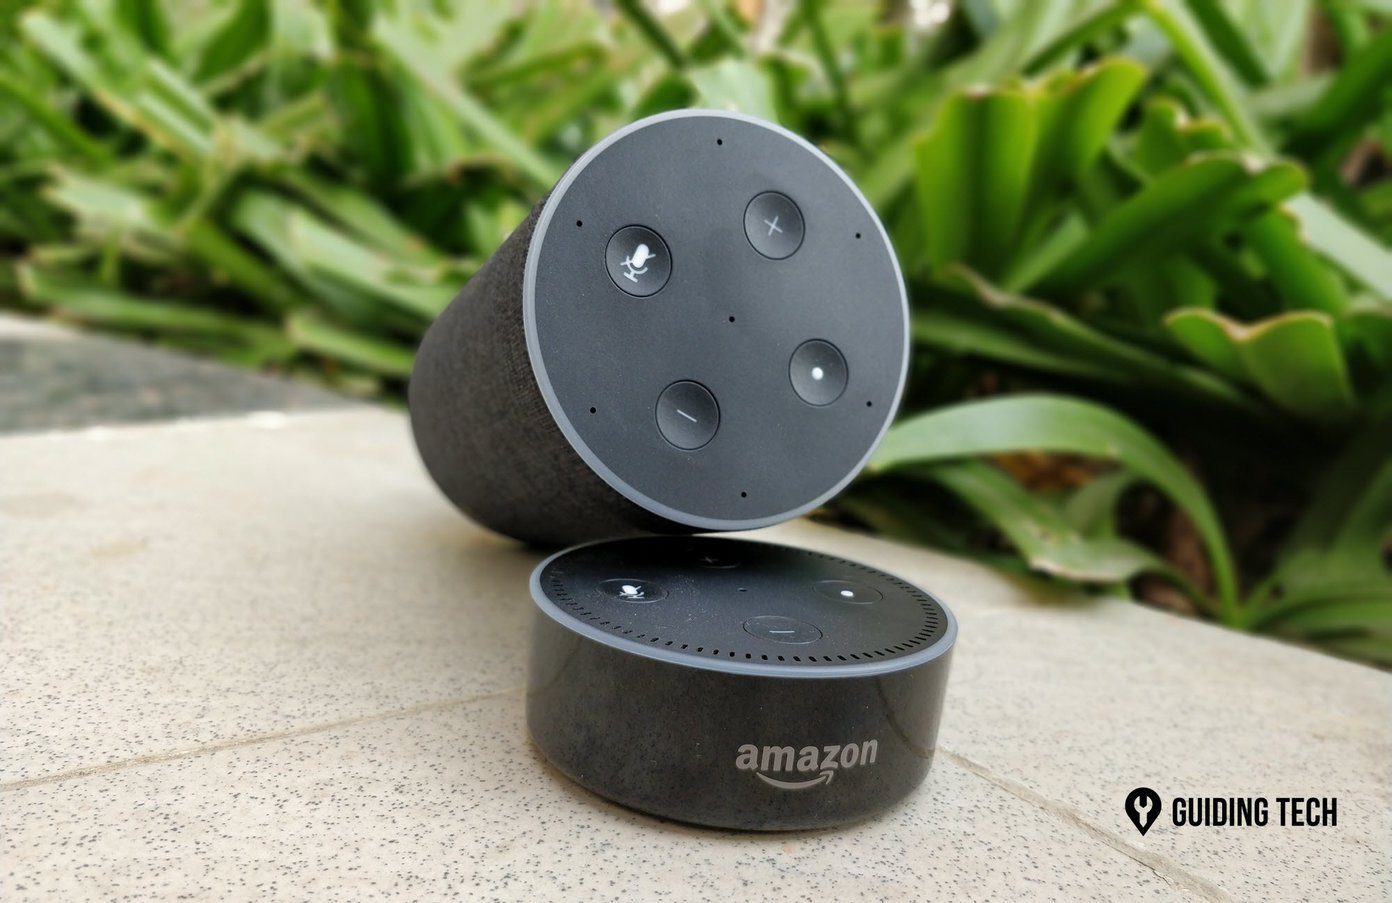
Smart speakers have microphones that are constantly active and waiting to hear the keyword. They also record and store your queries to improve accuracy. This may bother some users since the microphone can also capture any sensitive conversations when they’re close to the speaker. A good way to tackle this is to delete Alexa voice history from Echo devices.
Why Should You Delete Your Alexa Voice History
How to Delete Alexa Voice History From Your Smartphone
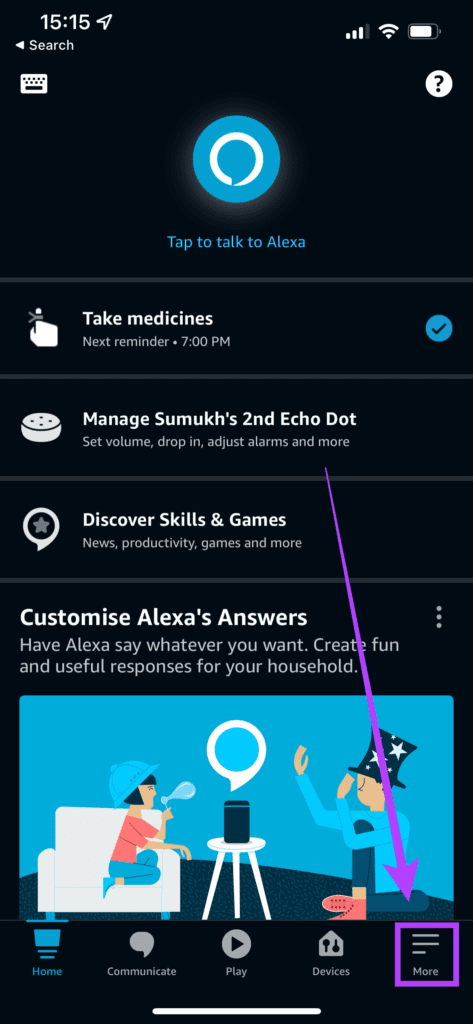
There are two ways in which you can delete Alexa voice history. The first one is using the Alexa app on your smartphone. These steps are valid on Android and iOS. Here’s how to do it. Step 1: Open the Alexa app on your smartphone and navigate to the ‘More’ tab on the bottom right corner.
Step 2: Go to the ‘Settings’ page.
Step 3: Select ‘Alexa Privacy’.
Step 4: Now, tap on the ‘Review Voice History’ option.
Step 5: You will now see an option to filter your voice history by date. Select ‘All History.’
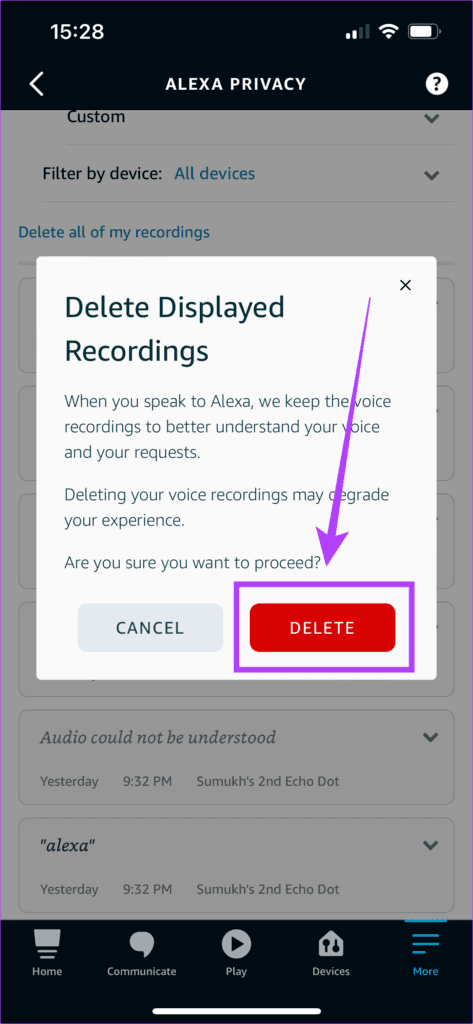
Step 6: Your entire Alexa voice history will appear. This will give you an idea about all the stored data. Step 7: Select ‘Delete all of my recordings.’
Step 8: Tap once again on ‘Delete’ when prompted. Your entire Alexa voice history has now been deleted.
How to Delete Alexa Voice History From Your Echo Speaker
If you want to delete your Alexa voice history directly using your voice on the speaker, this is how you can do it. Note that you will have to enable this ability via the Alexa app before using it for the first time. Once enabled, you can directly give the command from next time onwards. Step 1: Open the Alexa app on your smartphone and navigate to the ‘More’ tab on the bottom right corner.
Step 2: Go to the ‘Settings’ page.
Step 3: Select ‘Alexa Privacy.’
Step 4: Scroll down and find the ‘Manage Your Alexa Data’ option. Tap on it.
Step 5: Toggle the switch next to ‘Enable deletion by voice.’ Then tap on ‘Confirm’ when prompted. Step 6: You can now give voice commands to Alexa to delete your voice history. You can say: “Alexa, delete my entire voice history.”
How To Set Alexa Voice History to Auto-delete
If you don’t want to delete your voice history from time to time manually, or if you think you might forget to do so, you can set up an auto-delete on Alexa via the smartphone app. Here’s how to do it. Step 1: Open the Alexa app on your smartphone and navigate to the ‘More’ tab on the bottom right corner.
Step 2: Go to the ‘Settings’ page.
Step 3: Select ‘Alexa Privacy’.
Step 4: Scroll down and you will find the ‘Manage Your Alexa Data’ option. Tap on it.
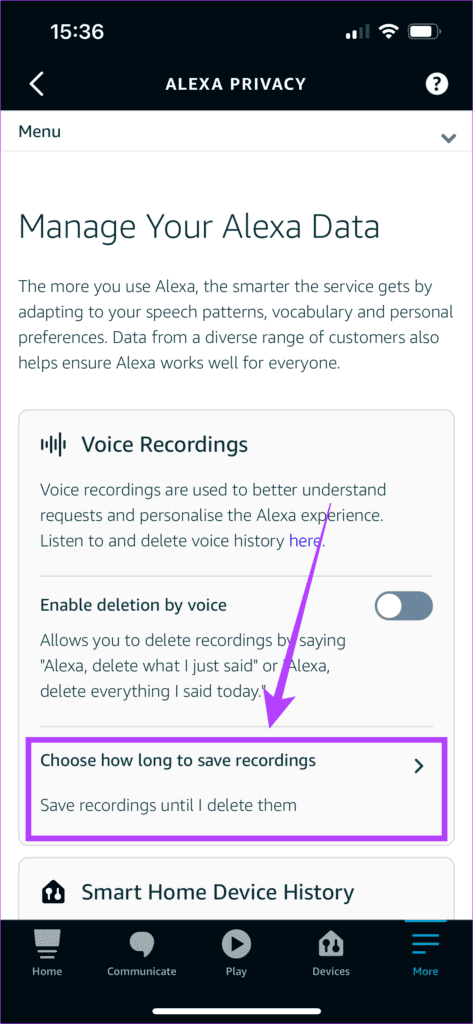
Step 5: Now, select ‘Choose how long to save recordings’ at the bottom of the screen.
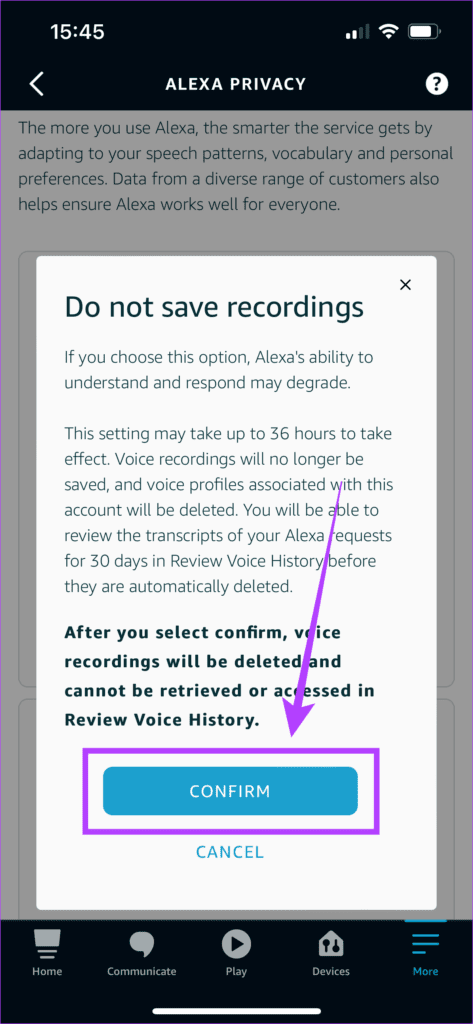
Step 6: You can now choose how long you want your recordings to be stored. You can also select the ‘Do not save recordings’ option if you don’t want Alexa to store any of your recordings going forward. Once done, tap on ‘Confirm.’ Tap on ‘Confirm’ again when prompted. This will enable your Alexa voice history to auto-delete as per your set frequency. Note that if you choose not to save recordings at all, the accuracy of responses from Alexa to your queries may be affected.
Prioritize Your Privacy
The above article may contain affiliate links which help support Guiding Tech. However, it does not affect our editorial integrity. The content remains unbiased and authentic.
