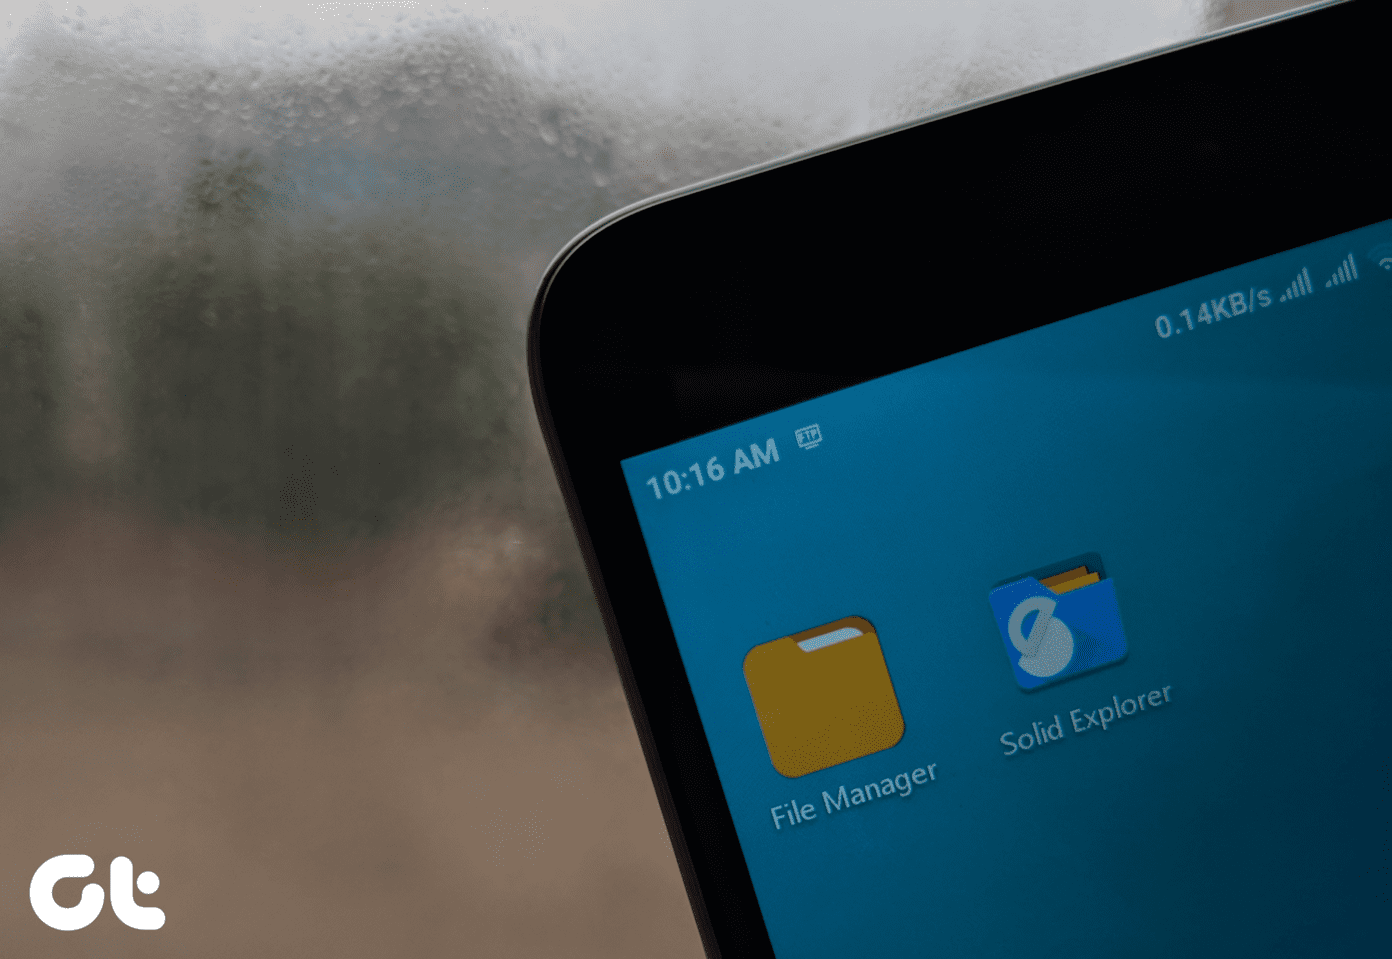
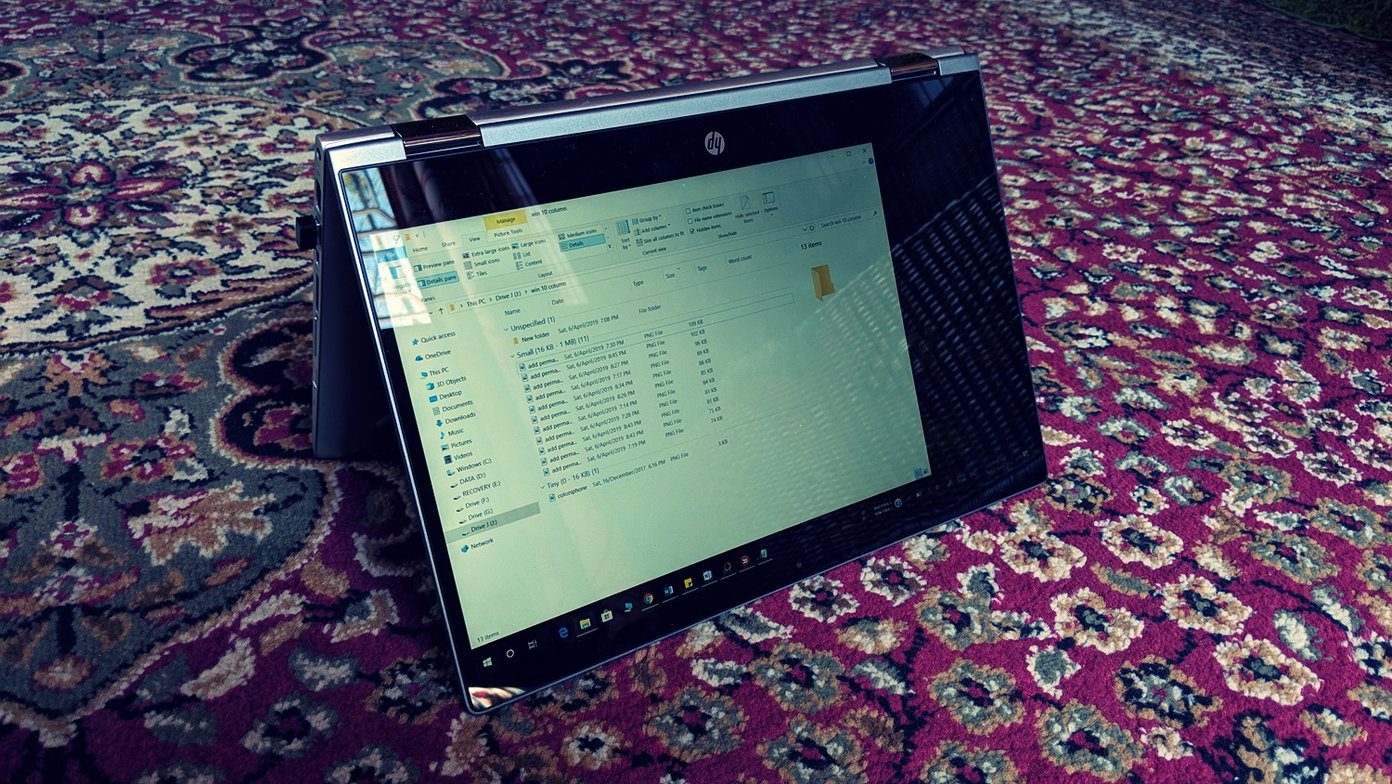
Similarly, you can view files from other cloud platforms such as Google Drive, Dropbox, OneDrive, etc. right in its interface. In case you don’t use these apps frequently, this feature would save you the extra space needed to install these apps. Further, Solid Explorer lets you access your PC files on your Android device. This is the opposite of FTP server where your Android files are available on PC. It is achieved with the help of LAN/SMB connections that can be created with this app. But how does one set up the SMB connection? That’s what we will demonstrate in this post. We will help you to access SMB server on Solid Explorer. Before we dive into it, let’s first understand SMB briefly.
SMB
SMB stands for Server Message Block, which is a File Server protocol. The main use of SMB is to let users (clients) access files available on the server. The client can access and view these files without transferring them from server. You can make also changes to the files directly on the server without saving its copy on the client side. Hence, storage from the client side isn’t required as is the case with FTP. Only if you want to move files from server to client, storage is required. Unlike FTP, in SMB, if the file on the server is changed, it will be reflected immediately on all the clients. Currently, there are three versions of SMB. SMBv3 being the latest and the most secure, while SMBv1 is the oldest and the least secure one and hence, Windows 10 doesn’t support SMBv1 by default. However, SMBv2 and v3 are fully supported in Windows 10. After years of using SMBv1, Solid Explorer recently switched to the SMBv2. In case of Solid Explorer, our PC is the server and our Android device is the client. So basically, we can view the PC files on our Android device by setting up the SMB server on PC and accessing the shared files on our Android.
Set Up the SMB Server on PC
To set up the server, two requirements should be met. These are:
- Your Android device and PC should be connected to the same Wi-Fi network.
- Shared folder or drive on PC To share folders, printers, and other services between various devices connected to the same network, you need to turn on network sharing.
1. Enable Network Sharing on PC
Step 1: Open the Start menu and go to Control Panel. Step 2: Under Control Panel, change the View by mode to Small icons. Then click on Network and Sharing Center. Step 3: In the Network and Sharing Center, click on the Change advanced sharing settings option present on the left side. Step 4: On the next window, you will see three profiles — Private, Guest or Public, and All Networks. Click on the small down arrow next to the current profile. Here turn on network discovery and file and printer sharing. Step 5: Then click on the arrow next to the All Networks to expand the options. Scroll down and you will see Password protected sharing. If you want to access files without a password, go with Turn off password protected sharing. However, to be on the safer side, we would suggest you to enable the password protected sharing. Finally, hit the Save changes button at the bottom. You don’t need to set a new password. The network sharing uses your PC’s username and password as your login details that are required while setting up the SMB connection in Solid Explorer.
Find PC Username
We are assuming you remember your PC’s password but if you don’t know the username, here’s what you need to do. Step 1: Go to the Start menu and search for Run. Alternatively, you can press Win + R shortcut key on your keyboard. Step 2: Type cmd in the Run window to open the Command Prompt and hit Enter. Step 3: The Command Prompt window will open. You will see your username mentioned right there after Users. To verify, type echo %username% and hit Enter. You will need this username while setting up the connection on Android.
2. Share Windows Folder
After you turn on the Sharing, you need to share folders. You can either share an individual folder or if you want you can share the entire Drive. Here’s what you need to do. Step 1: Open My Computer and navigate to the folder or drive that you want to share. Right-click on the folder and select Properties from the menu. Step 2: The Properties window will open. Click on the Sharing tab present at the top. On the next screen, click on the Share button present under Network File and Folder Sharing. Step 3: You will be taken to the Network access window. Here you need to specify the people with whom you want to share the folder. From the drop-down box, select Everyone and click Add. By default, the read and write permissions of the shared folder are set to Read only. However, if you want others to have the Write permission as well, click on the small down arrow next to Read and select Read/Write. By granting Read/Write permission, others can modify files or add new content to the folder besides viewing the files. Step 4: Click on the Share button on the Network access Window and finally hit the Done button on the next window. You will be taken back to the folder properties window. Click Close. Later, if you want to revoke the access, right-click the folder and, from the Give access to option, select Revoke Access. That’s all you need to do from the PC side. Now to access files on the Android device, you need to setup a LAN/SMB connection.
Access Files on Android
Step 1: Open Solid Explorer on your device and hit the floating Add button at the bottom-right corner to expand it. From the expanded options, select New cloud connection. Step 2: On the next screen, select LAN/SMB and hit the Next button at the bottom. Step 3: Your Android device will start looking for the shared devices on your network. If all goes well, you should see your Windows PC there. Tap on it to select it and hit the Next button. Step 4: However, in case nothing shows up, tap on the up arrow present at the bottom. You will be taken to the Server details screen. Here you need to enter your PC’s IP address manually. Don’t get scared. We will tell you how to find it. Open Run by pressing Win + R key. Then type cmd to open the Command Prompt. In the cmd window, type ipconfig and hit Enter. You will find your PC’s IP address next to IP V4 Address label. Now that you know your IP address, enter this information in the Solid Explorer setup and hit the Next button. Step 5: You will then be taken to the Authentication screen. If the network sharing on your PC is password protected (Check Enable Network sharing steps above), go with Username and password. However, if the password protection is turned off, choose Guest. Since we chose password protected above, we will go with the second option. Then tap on the Next button. Step 6: Now enter your PC’s username and password on the next screen and hit Next. If the details are correct, you will be taken to the Set advanced screen. Select No here. Step 7: Check the details on the Review screen. If you feel something is wrong and you want to correct it, tap Previous, otherwise, tap on Next. Step 8: You have reached the last step. A big Connect button will appear on the Android screen. Tap on it. If all goes well, the button will change to green. Then tap the Finish button at the bottom. However, if it doesn’t connect, make sure you have entered the correct login details for your PC. The app will then ask you to further protect your network connections. You can choose to enable it or ignore it. If you press Nope, you will be taken to the network storage screen. Here you will see all the shared folders. Tap on them to open and view the PC files on your Android.
Enjoy
Apart from viewing and transferring files, you can also stream media from PC to Android using this method. If Write permission is granted, you can add new files and also make changes to the existing files. As mentioned above, the changes made to the files will also reflect on your PC files. We hope you liked the tutorial. Do let us know if you face any issue while setting the SMB server. The above article may contain affiliate links which help support Guiding Tech. However, it does not affect our editorial integrity. The content remains unbiased and authentic.


