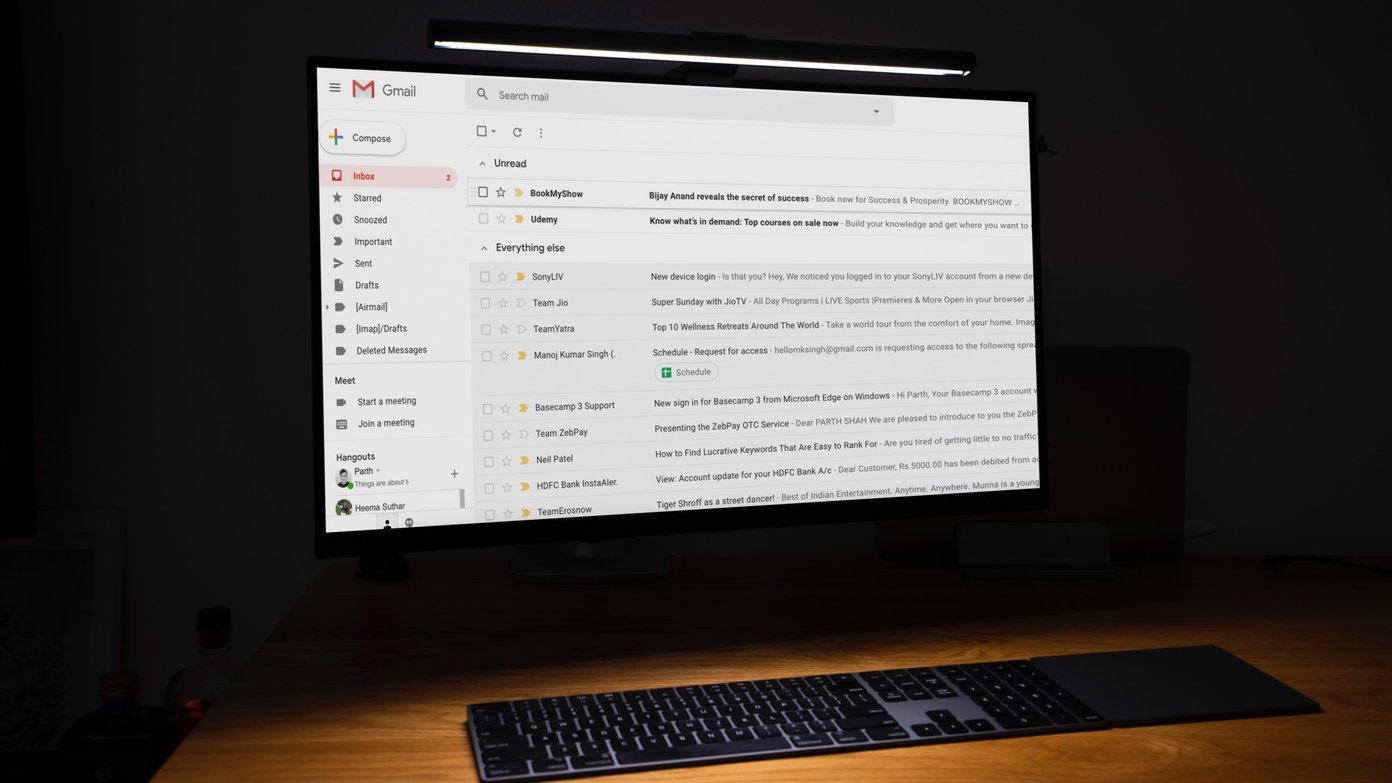
Though applying separators in between emails might not look that big a deal right now, when you are in a hurry and you are not able to find a particular email, you will definitely know the difference.
Adding Separator in Outlook
To add a separator in between two emails, open Outlook 2013 and navigate to the View menu. In View menu, click on View Settings to open Outlook Advanced View Settings. In the Advanced View Settings click on the button Other Settings. A new window will open up when you click on the button. Here click on the drop-down control in Grid Lines and Grouping Heading and click on the OK button. There are four types of separator line styles that you can choose from. After you click on the OK button and save the settings, you will see that all the mails are separated by a line making it easier for you to select them. I am sure that after using a different font for new emails and providing a separator for all the existing ones, you will not have any problem in spotting that one email you need to respond to immediately. The above article may contain affiliate links which help support Guiding Tech. However, it does not affect our editorial integrity. The content remains unbiased and authentic.


