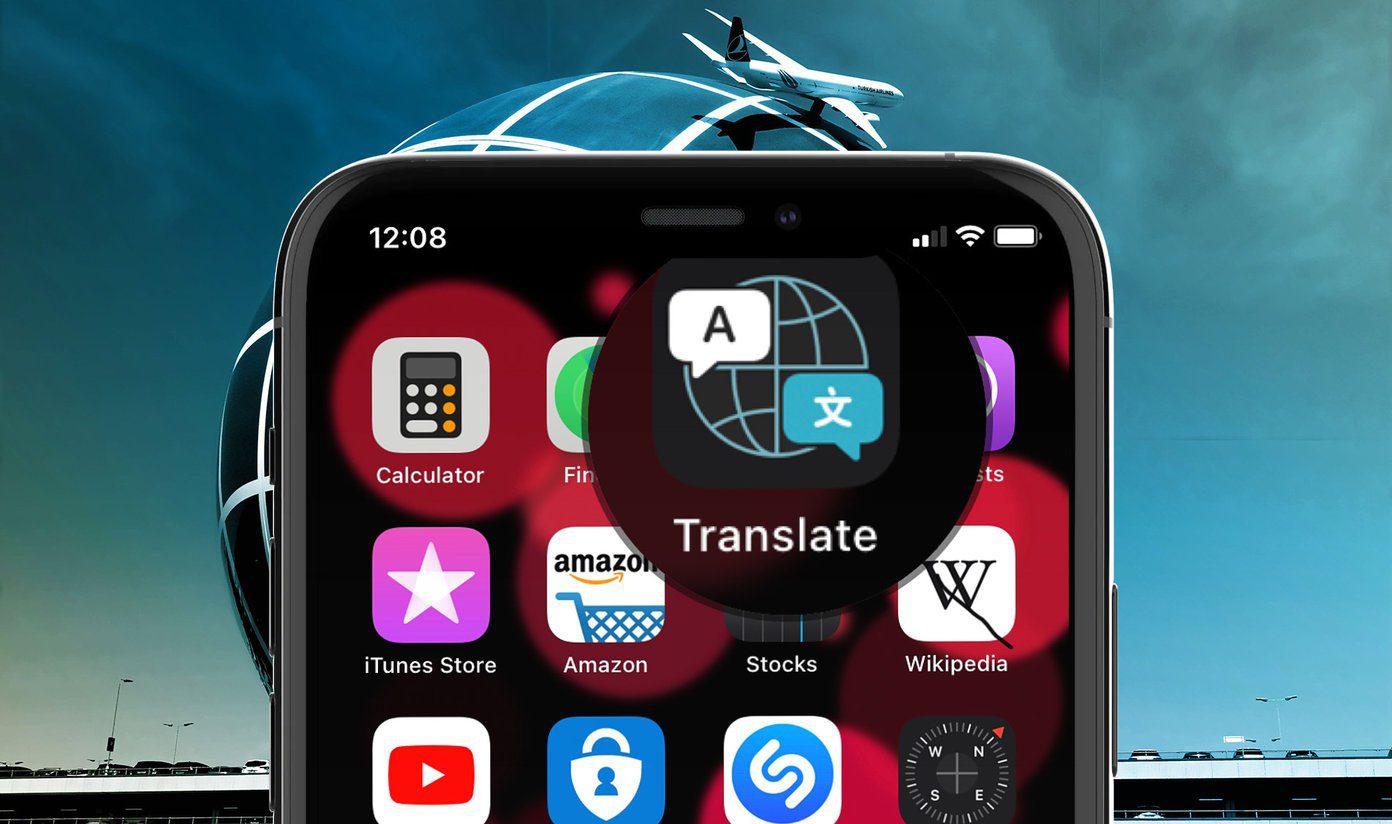
For instance, did you know that Apple Translate provides access to a built-in dictionary that helps you look up foreign words? Or that it has an on-device translation module that lets you perform conversions completely offline? Probably not. So, let’s check out nine essential tips and tricks that you can use to get the most out of the Translate app.
1. Translate in Another Language
After performing a translation from one language to another, keep switching languages (using the language selection tab to the left), and Apple Translate shall automatically redo the translation for you each time. That works for both voice and text translations. Note: When switching languages, Apple Translate will redo translations automatically for the most recent translation only.
2. Switch Keyboards
Apple Translate lets you select the input and output languages using the tabs to the top of the screen. However, you can also translate in the reverse order by switching keyboards. After tapping the Enter Text field, use the slider above the on-screen keyboard to switch between language-specific keyboards.
3. Use Dictionary
Apple Translate comes with a built-in dictionary that lets you easily look up definitions for translated words. Just tap that the book-shaped Dictionary icon after performing a translation, and then start tapping words to bring up the definitions.
4. Add Translations to Favorites
Hate performing the same translation over and over again? Just tap that star-shaped icon underneath the translation, and you can then access it at any time by switching to the Favorites tab (located to the lower-right corner of the screen). That’s not all––you can also ‘favorite’ your recent translations. Swipe down within the Translate app to bring them to view. Then, swipe a translation to the left, and then select Favorite. Alternatively, you can switch to the Favorites tab, which will also display a list of recent translations—swipe a translation to the left, and then tap Favorite.
5. Attention Mode
Attention Mode gets rid of the on-screen clutter and focuses on your translations, making converted text a bit easy to read. Hold your iPhone in landscape view to automatically switch to it. If nothing happens, check if you have the Portrait Orientation Lock enabled on your iPhone––bring up the Control Center to do that.
6. Conversation Mode
Apple Translate comes with a Conversation Mode that automatically picks up and translates languages both ways—ideal when talking to a foreigner. Start by holding your iPhone in landscape view. Once the Translate app switches to Attention Mode, simply tap the ‘Conversation Mode’ icon to the lower-left corner of the screen, and you are good to go.
7. Download Languages
The Translate app lets you download languages, letting you perform translations even when you don’t have internet connectivity. Simply tap on either of the language selection areas to the top of the screen, and then scroll down the list until you come across the Available Offline Languages section. Use the Download icons next to the listed languages to download the relevant offline language packs.
8. Disable Automatic Recognition
Sometimes, Apple Translate may not do a great job of recognizing the correct language in voice translations. If that happens regularly, try disabling the feature. Head into either of the Languages selection screens, scroll down to the bottom, and then turn off the switch next to Automatic Recognition. The next time you want to perform a voice translation, simply tap the relevant microphone icon before you start speaking––that should force the app to recognize your speech in the selected language.
9. On-Device Mode
Thanks to the Neural Engine on your iPhone, you can perform translations strictly offline despite being connected to the internet for additional privacy. Open the iPhone’s Settings app, tap Translate, and then turn on the switch next to On-device Mode. Follow by downloading the relevant language packs (as shown above). However, Apple warns you that offline translations will not be as accurate as those that you perform while connected online. Something to keep in mind.
Translator in Progress
Apple Translate takes established translation tools such as Google Translate and Microsoft Translator head-on with a slew of features and functionalities. For a first-timer, it works surprisingly well. If there’s one thing that holds it back, it’s the limited number of languages that it supports, which stands at just a touch over a dozen at the time of writing. Hopefully, Apple will keep improving the app and add more languages as time goes by. Next up: Check out these awesome tips and tricks that you can perform with the iPhone’s App Library. The above article may contain affiliate links which help support Guiding Tech. However, it does not affect our editorial integrity. The content remains unbiased and authentic.


